Create and publish your first GitBook
Visit here
If you don't have a GitBook account, create one now. This book assumes you have a free account.
A page appears offering several GitBook templates and reminding you to verify your account:
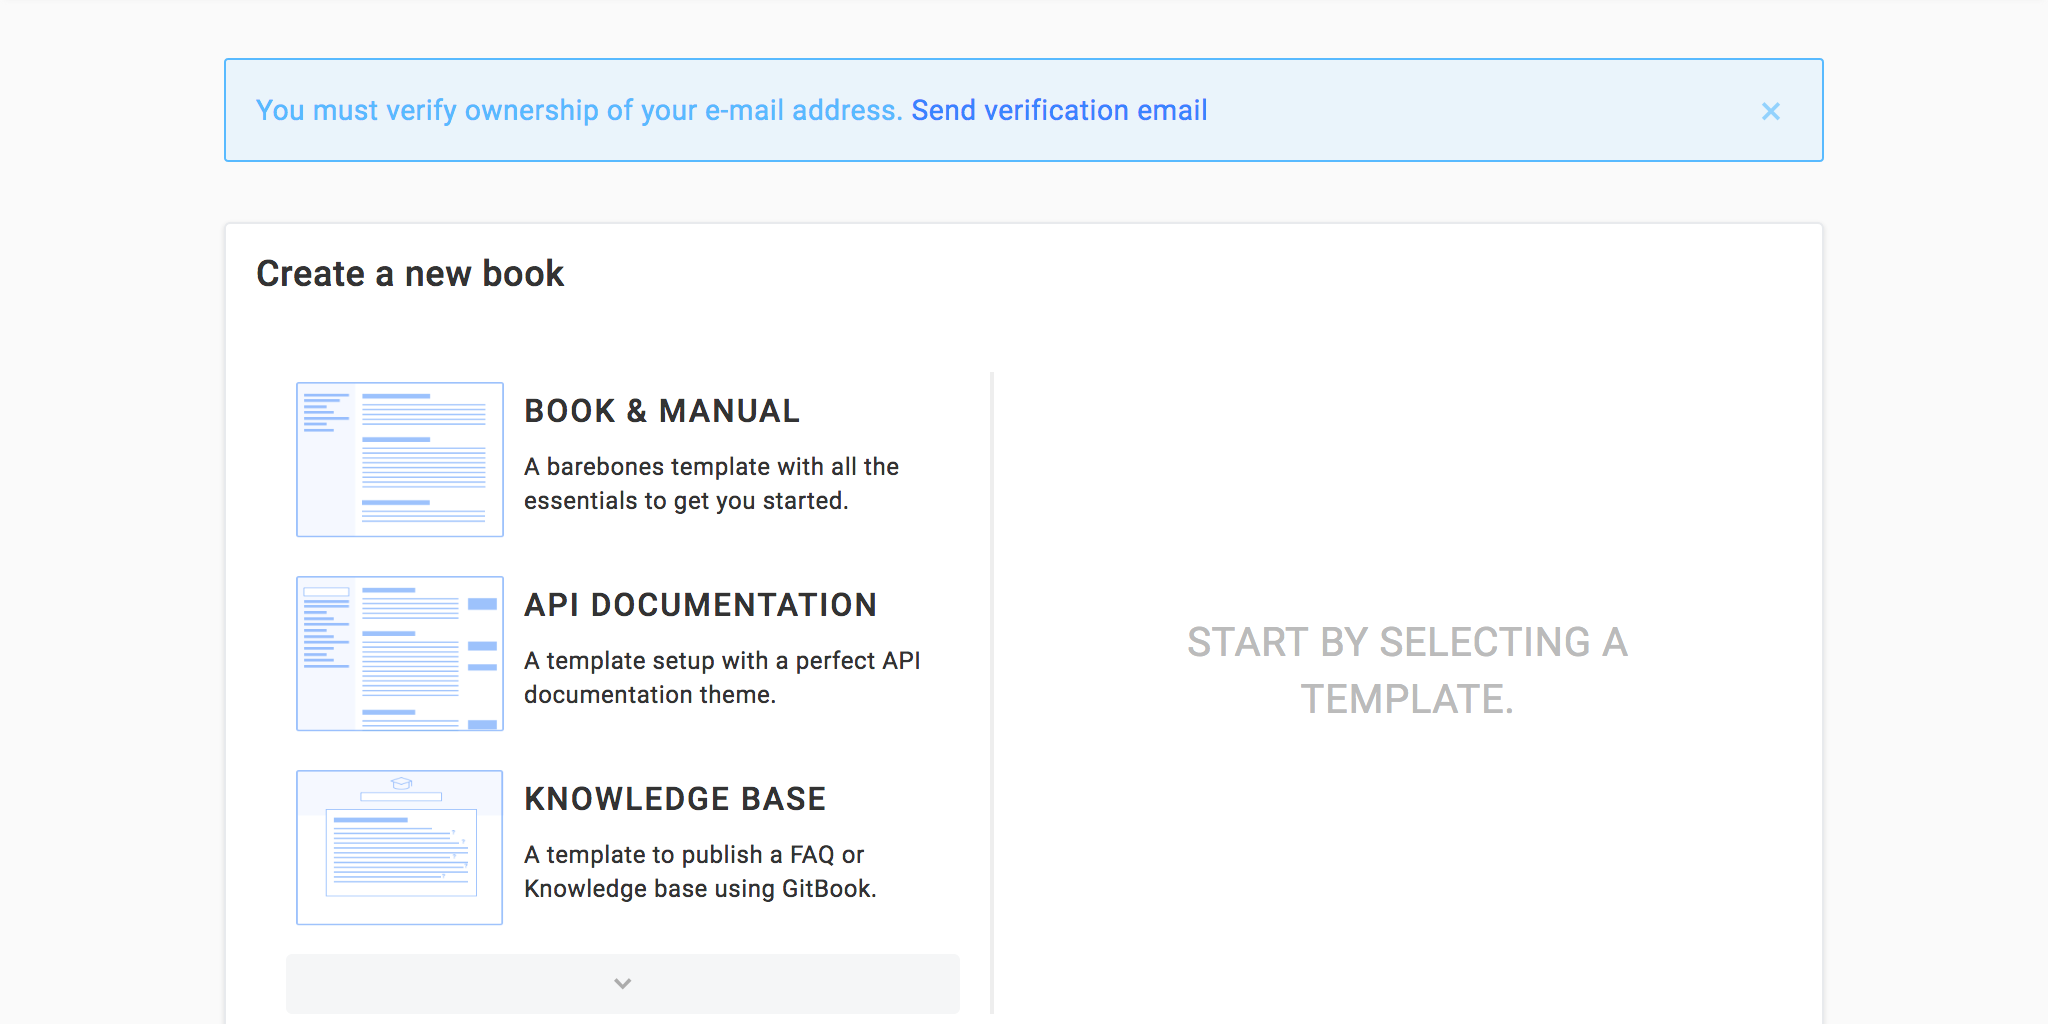
- Visit your email account and click the verification link GitBook sent so you can continue.
- Choose the Book & Manual template. It's the best choice for this tutorial because it requires you to learn the most about GitBook. Don't worry, it's pretty simple and what you learn here will apply to the other templates.
Creating the book title and description
You're presented with the Create a new book page:
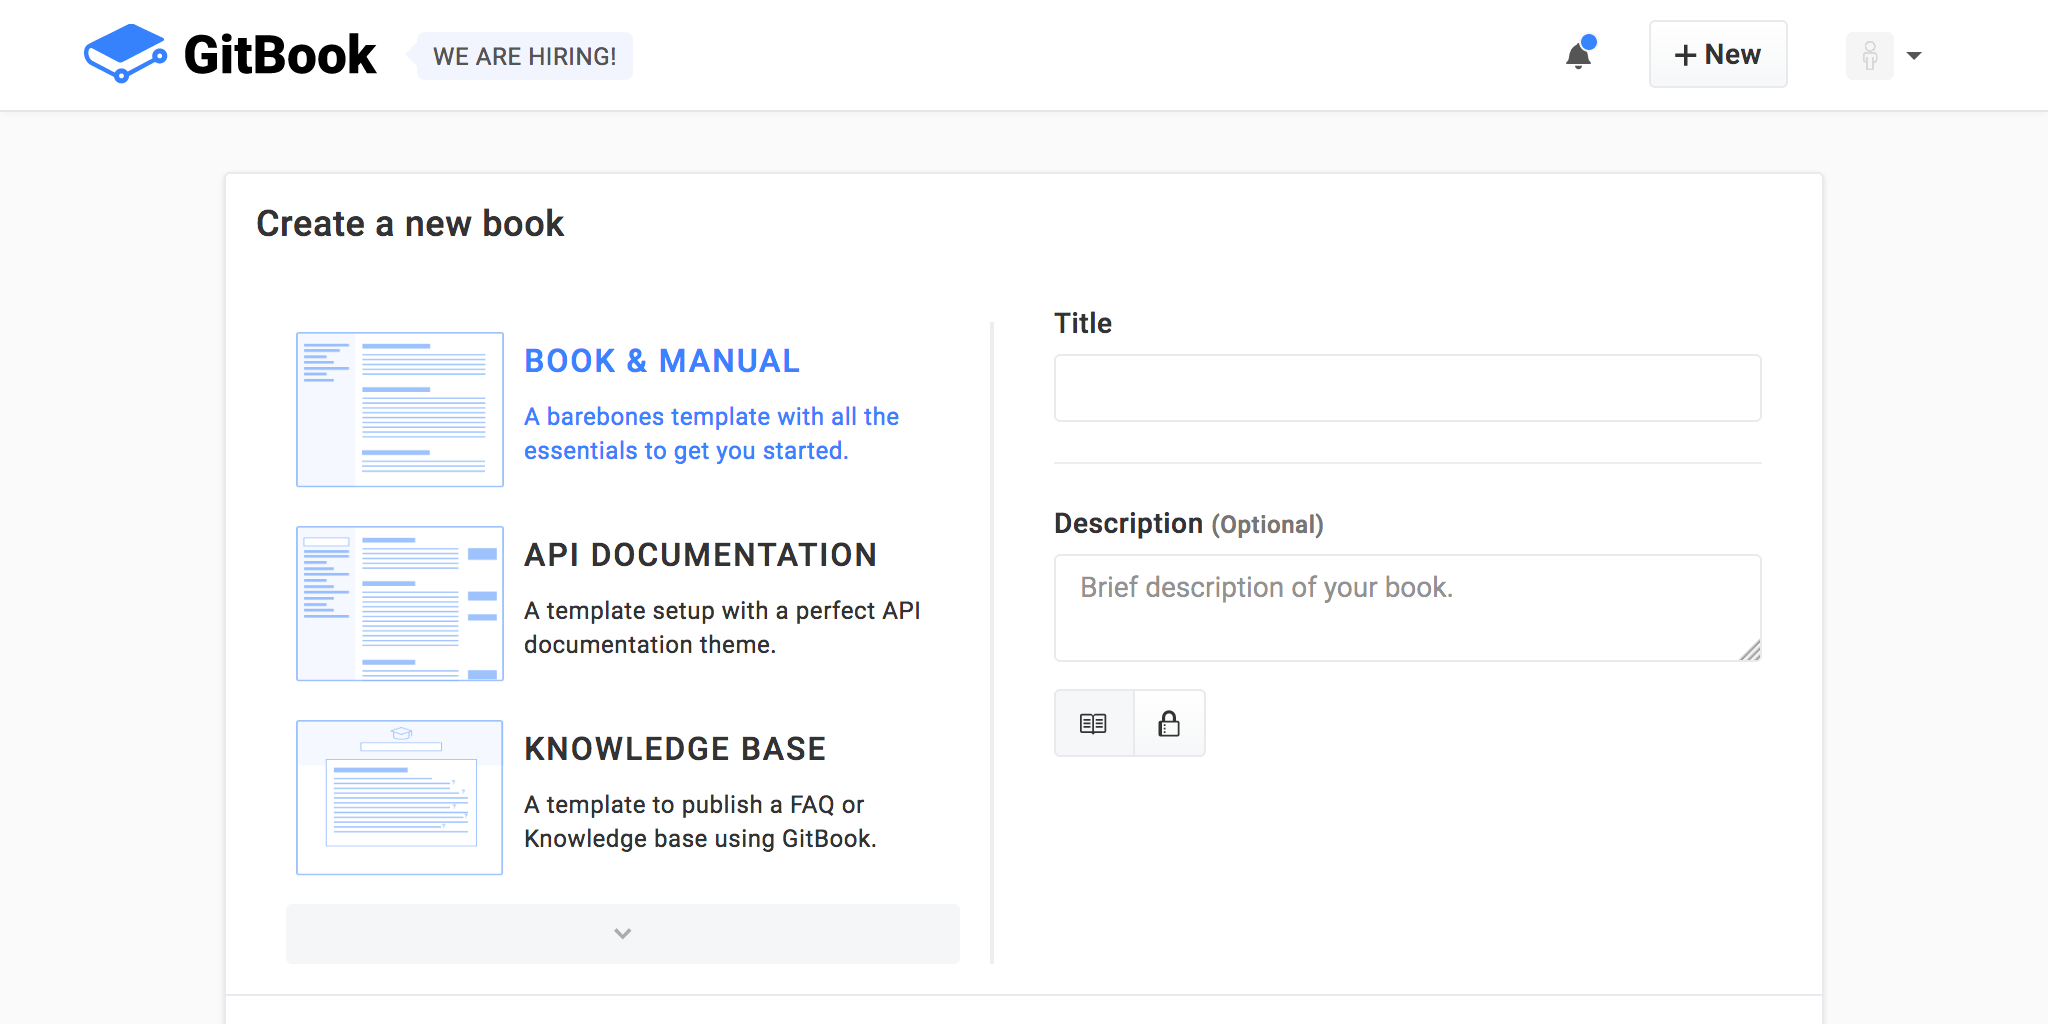
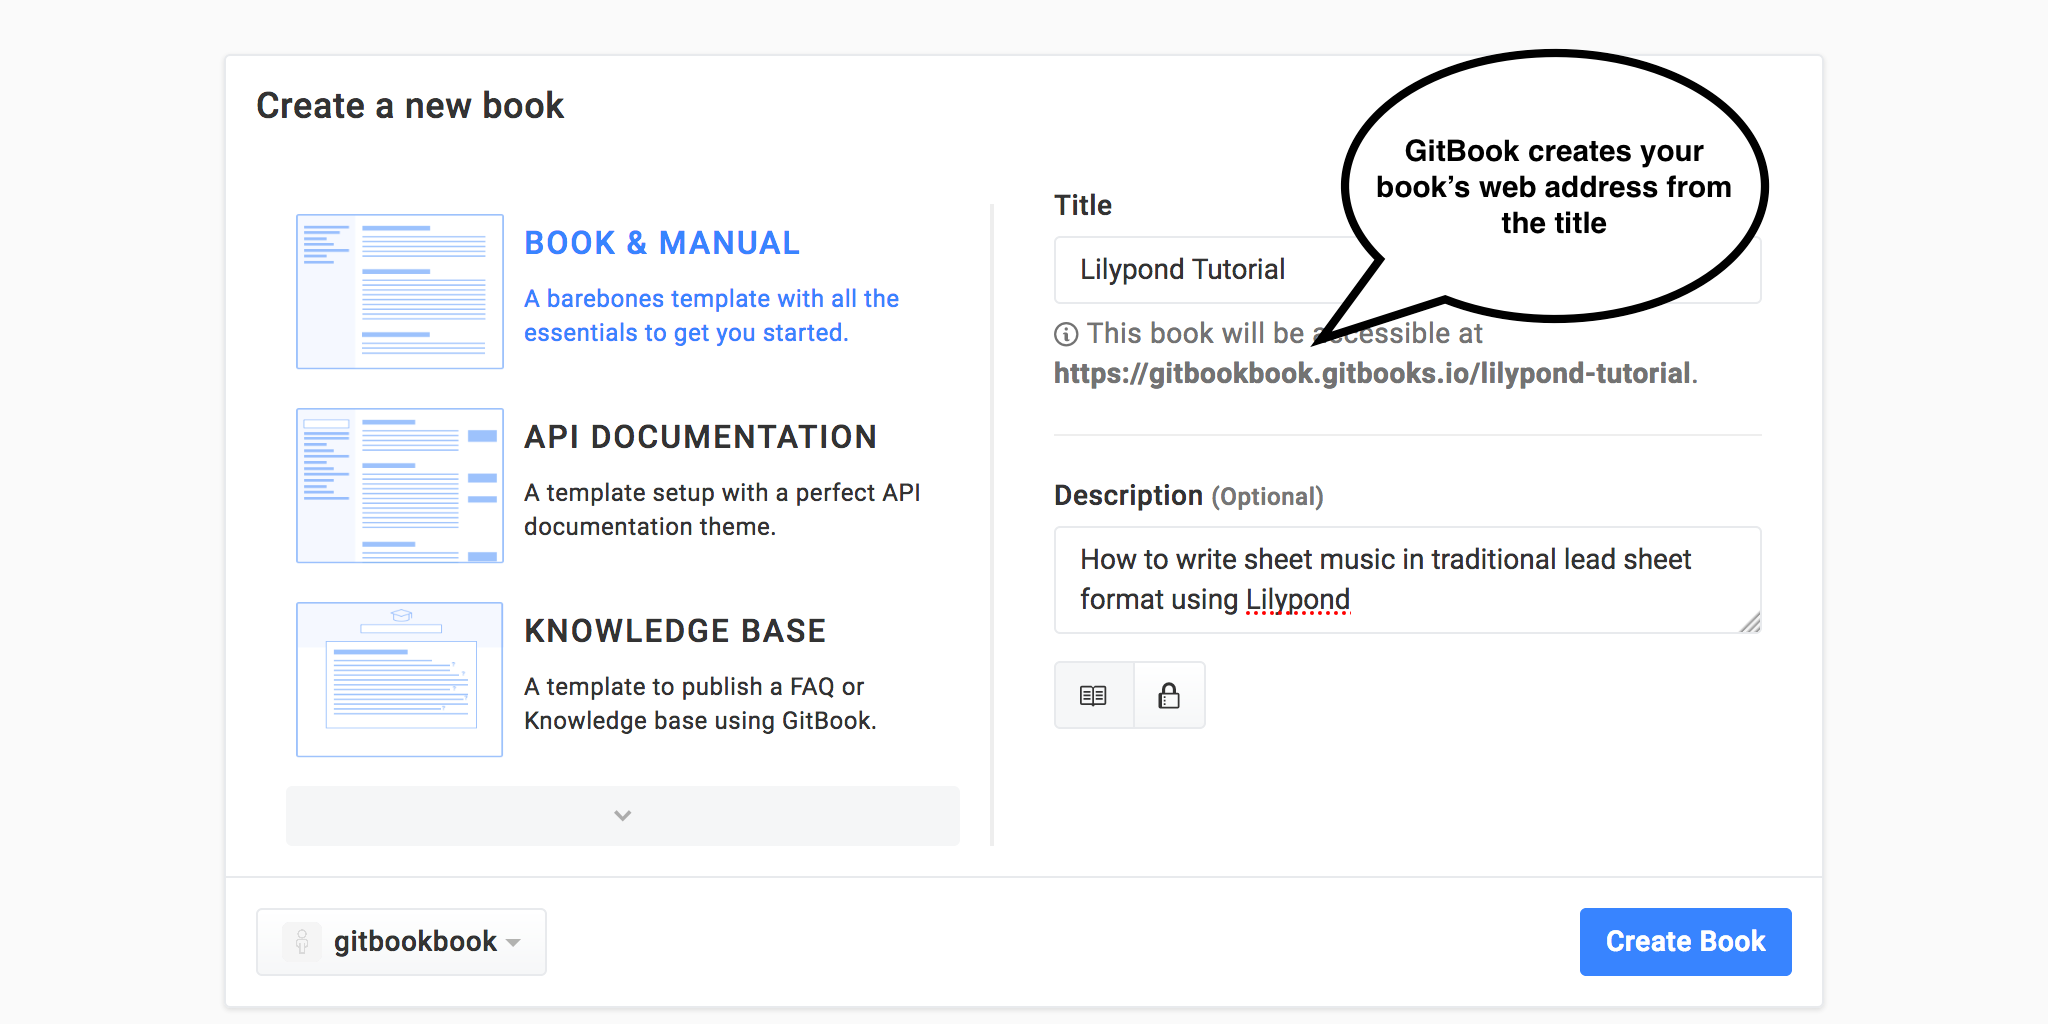
You just need to fill in two things: the title and description.
Take care with your book title and description
Give some thought to the book title and description if you are at all interested in making it easy for your book to be found on the web.
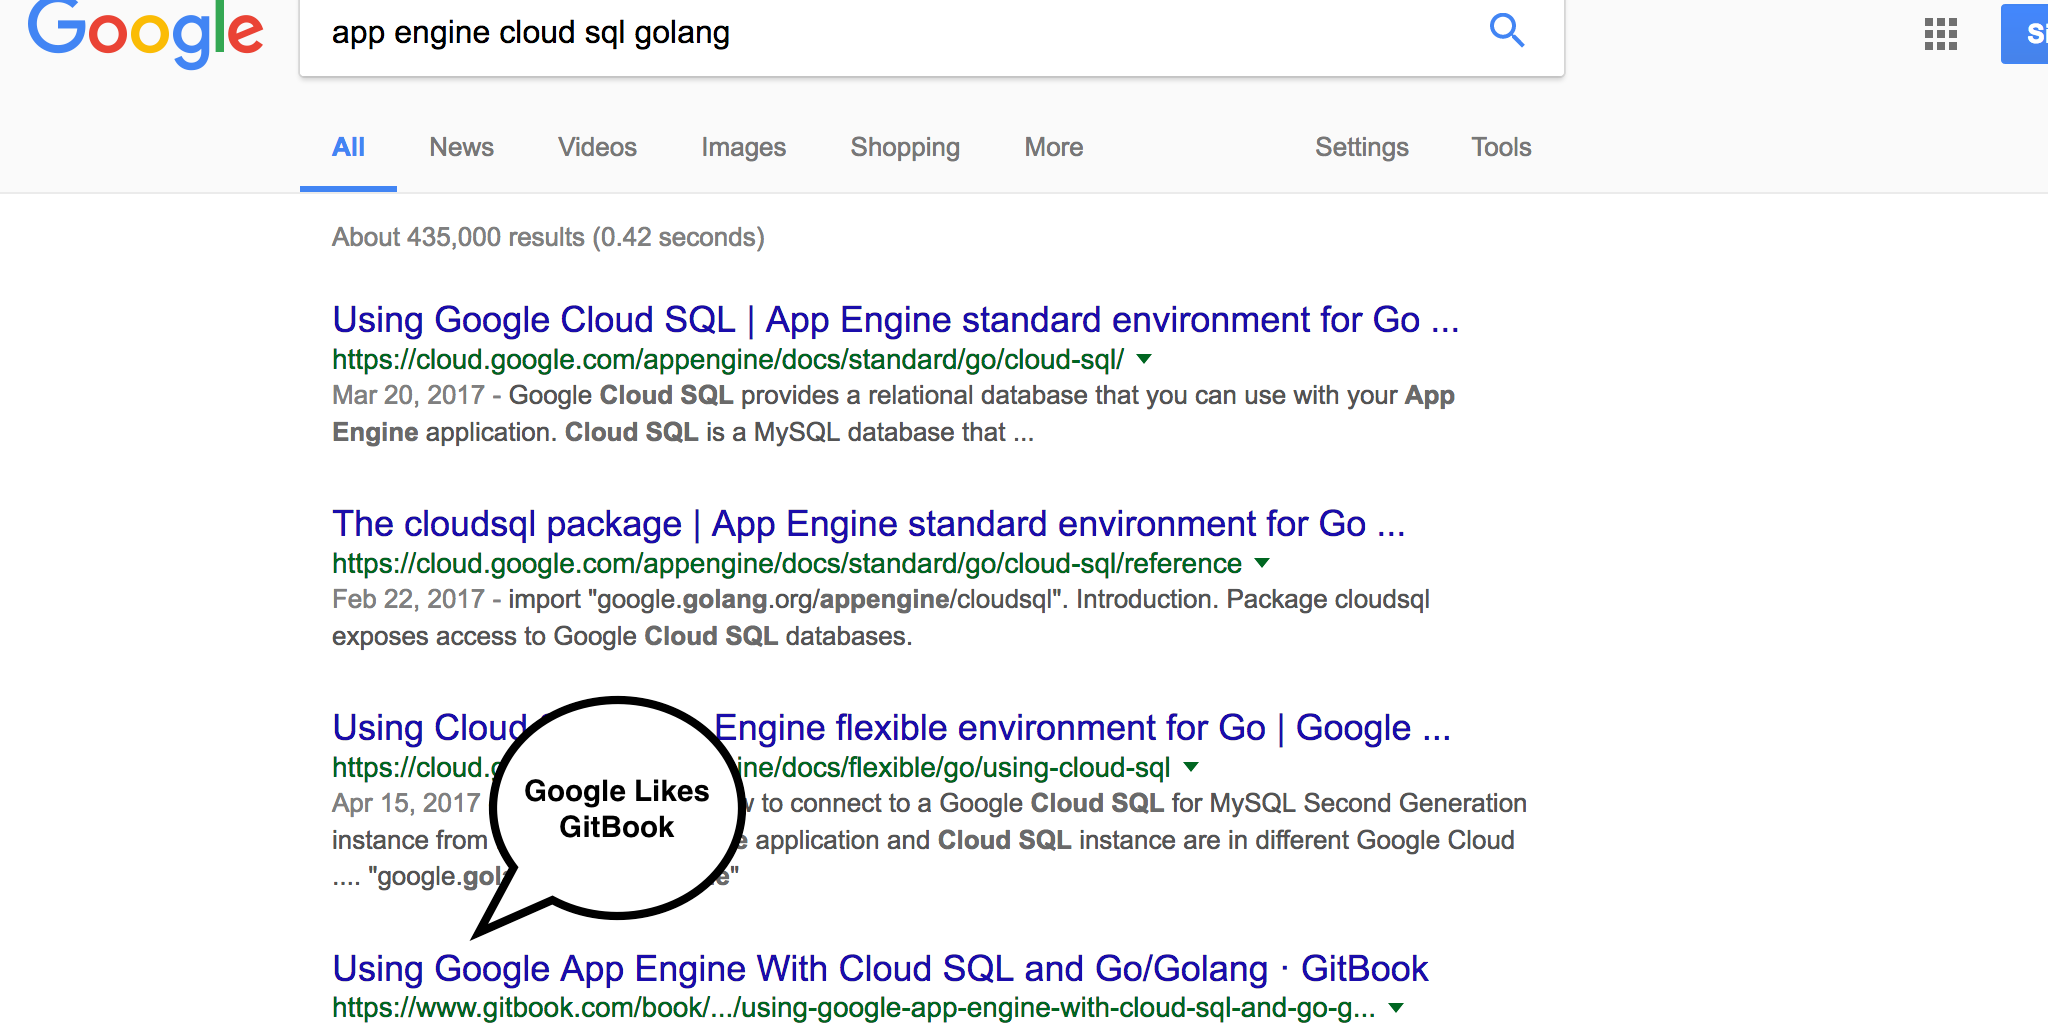
Google likes GitBook. For example, at the time of writing if you search for app engine cloud sql golang one of the first results is an unfinished GitBook publication:
- For the title, enter what you'd like to appear when they do a Web search for the book.
TIPS
- Search engines prefer a title of 65 characters or less.
- If you want as many people as possible to find your GitBook publication on the web, keep the title close to what people would search for. For example, Jared's Guide to Lilypond is better than Jared on Music Notation, and Lilypond Tutorial is probably better than both of them.
Editing a GitBook article
- After you've entered your title and description, click Create Book and this page will appear:
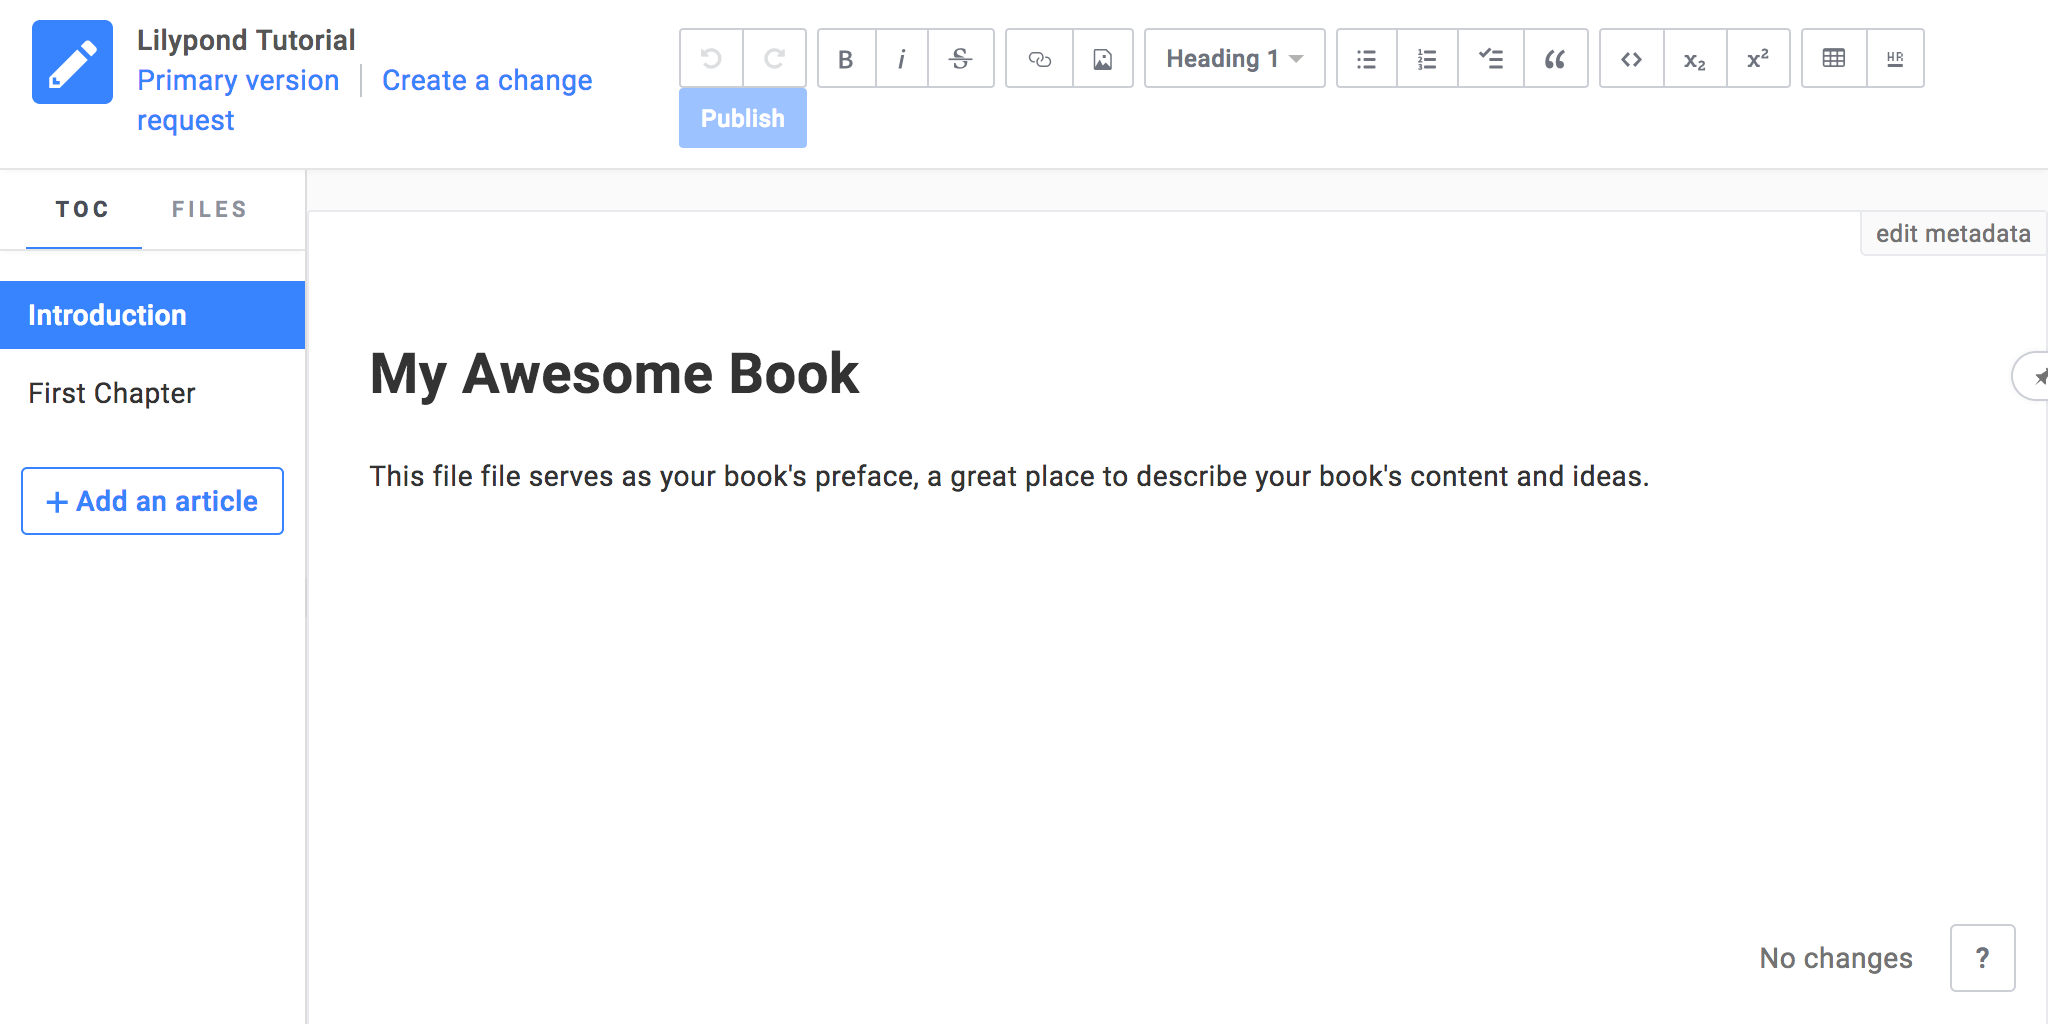
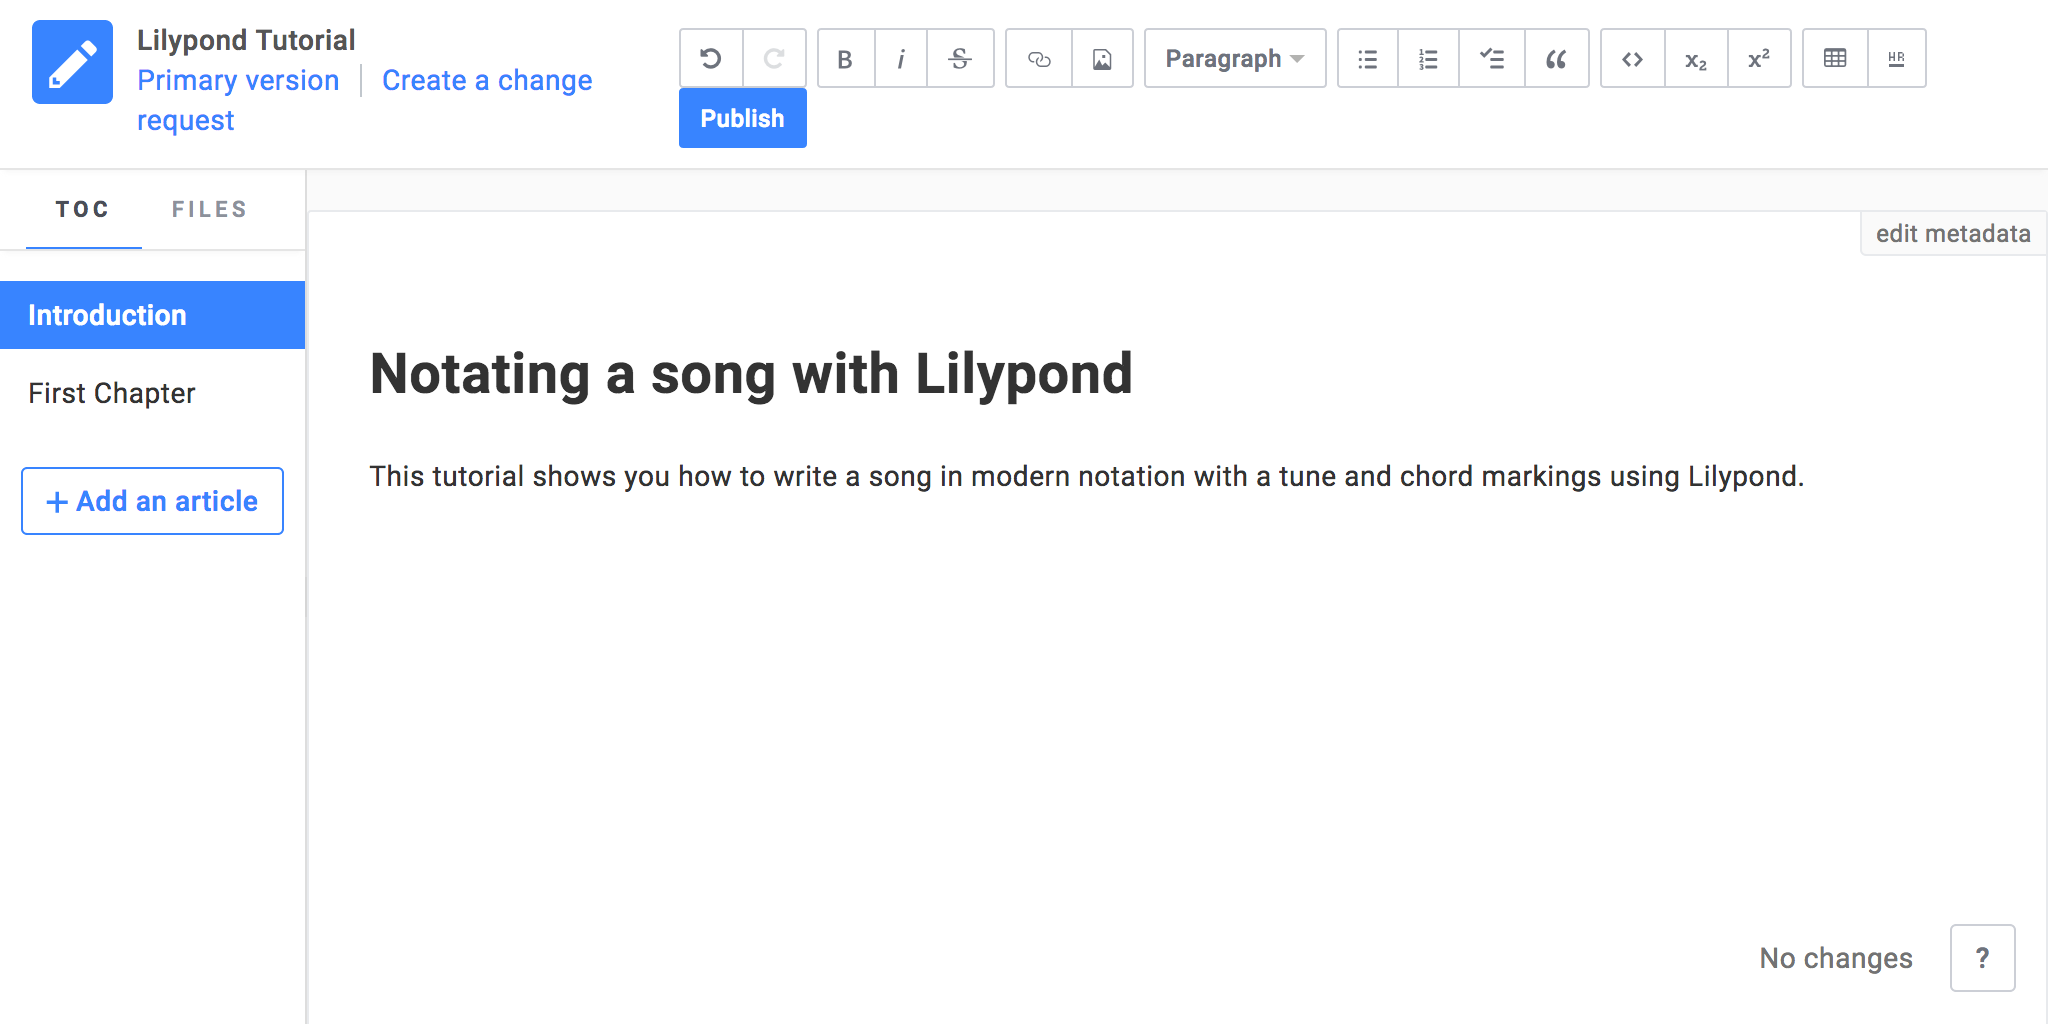
- Change the text to something that suits your purposes. Make it brief because this first part is just to give you an idea of what's happening:
Saving a Gitbook article
- Click the Publish button or press the keyboard shortcut. On MacOS it is
⌘+S, and on Windows it isControl+S. (See the keyboard shortcuts section for more.)
Turning on Read to make the GitBook public
The Publish button is somewhat misnamed, because it actually doesn't publish your GitBook until you enable the book the book for public viewing.
- First, click the book's title:
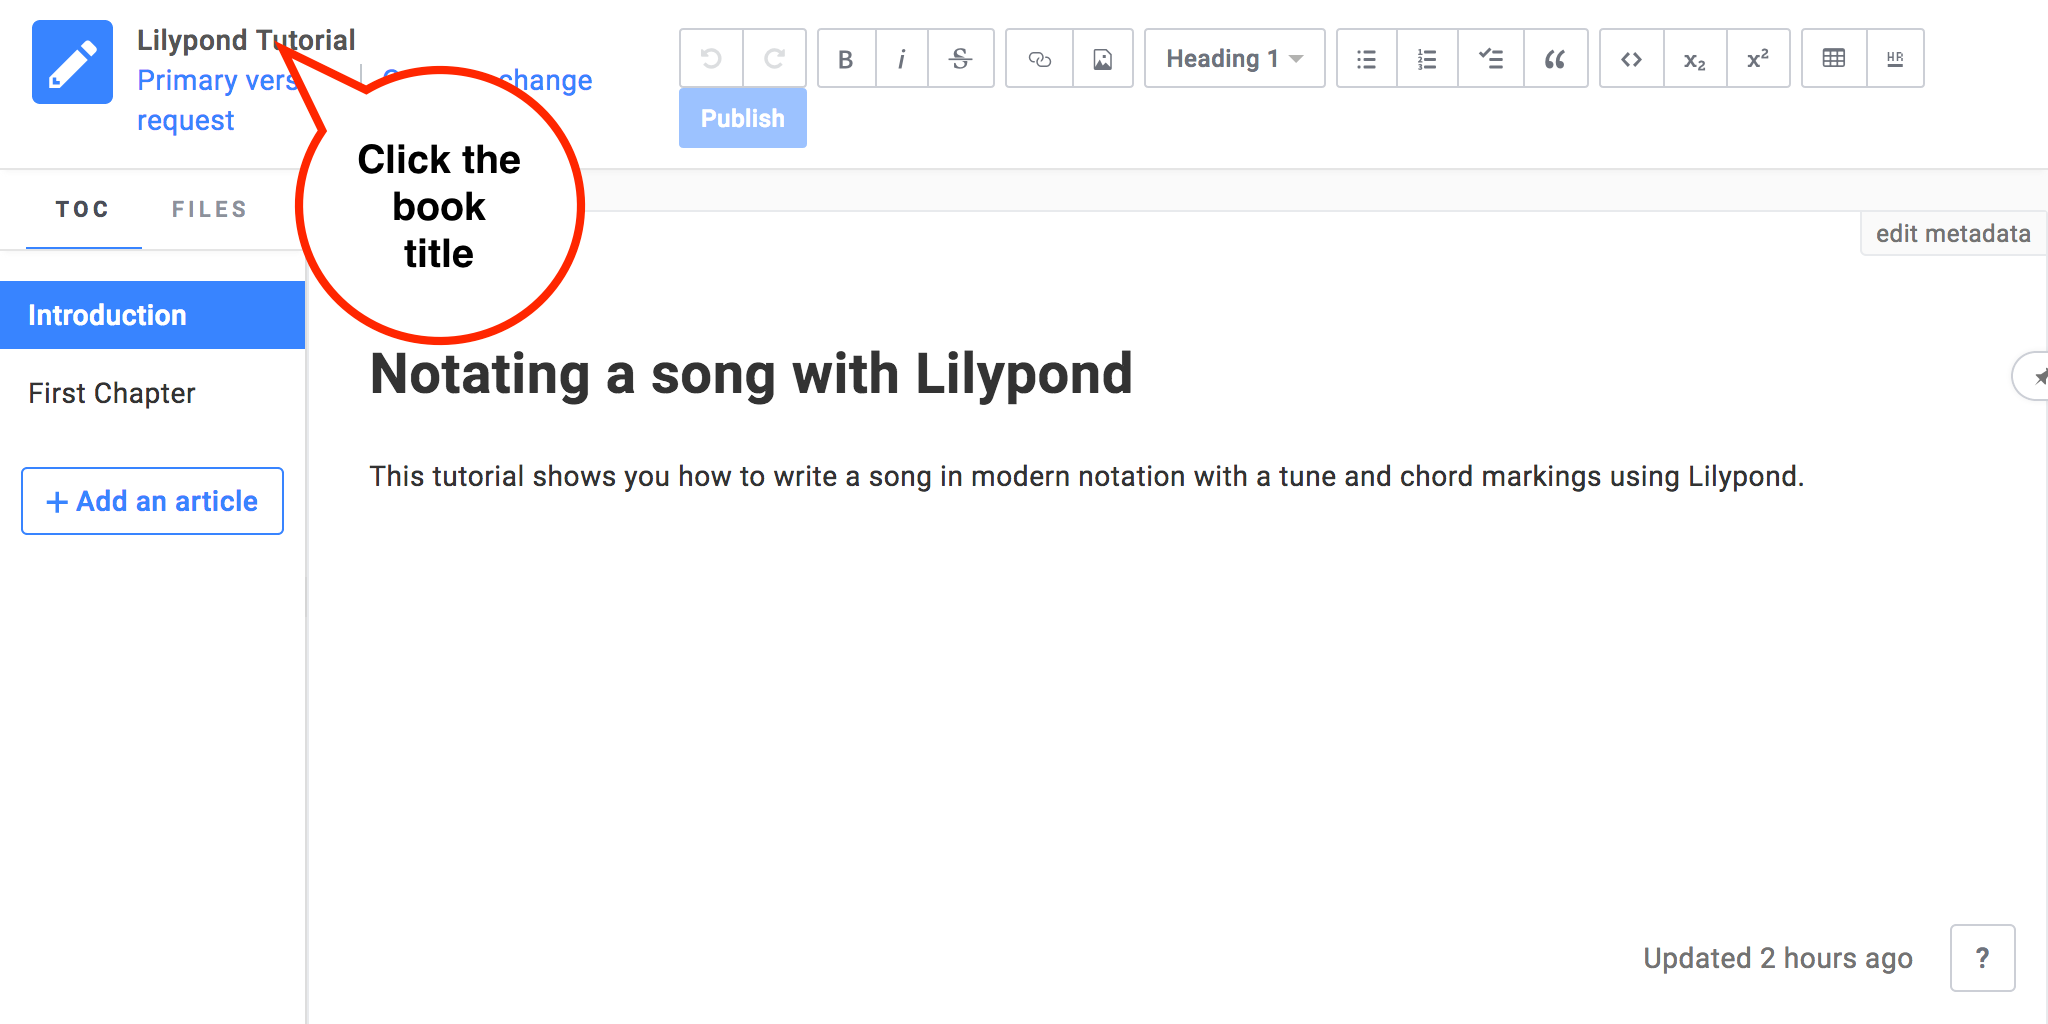
The article you just edited appears.
- Click the Read button to make your GitBook public:
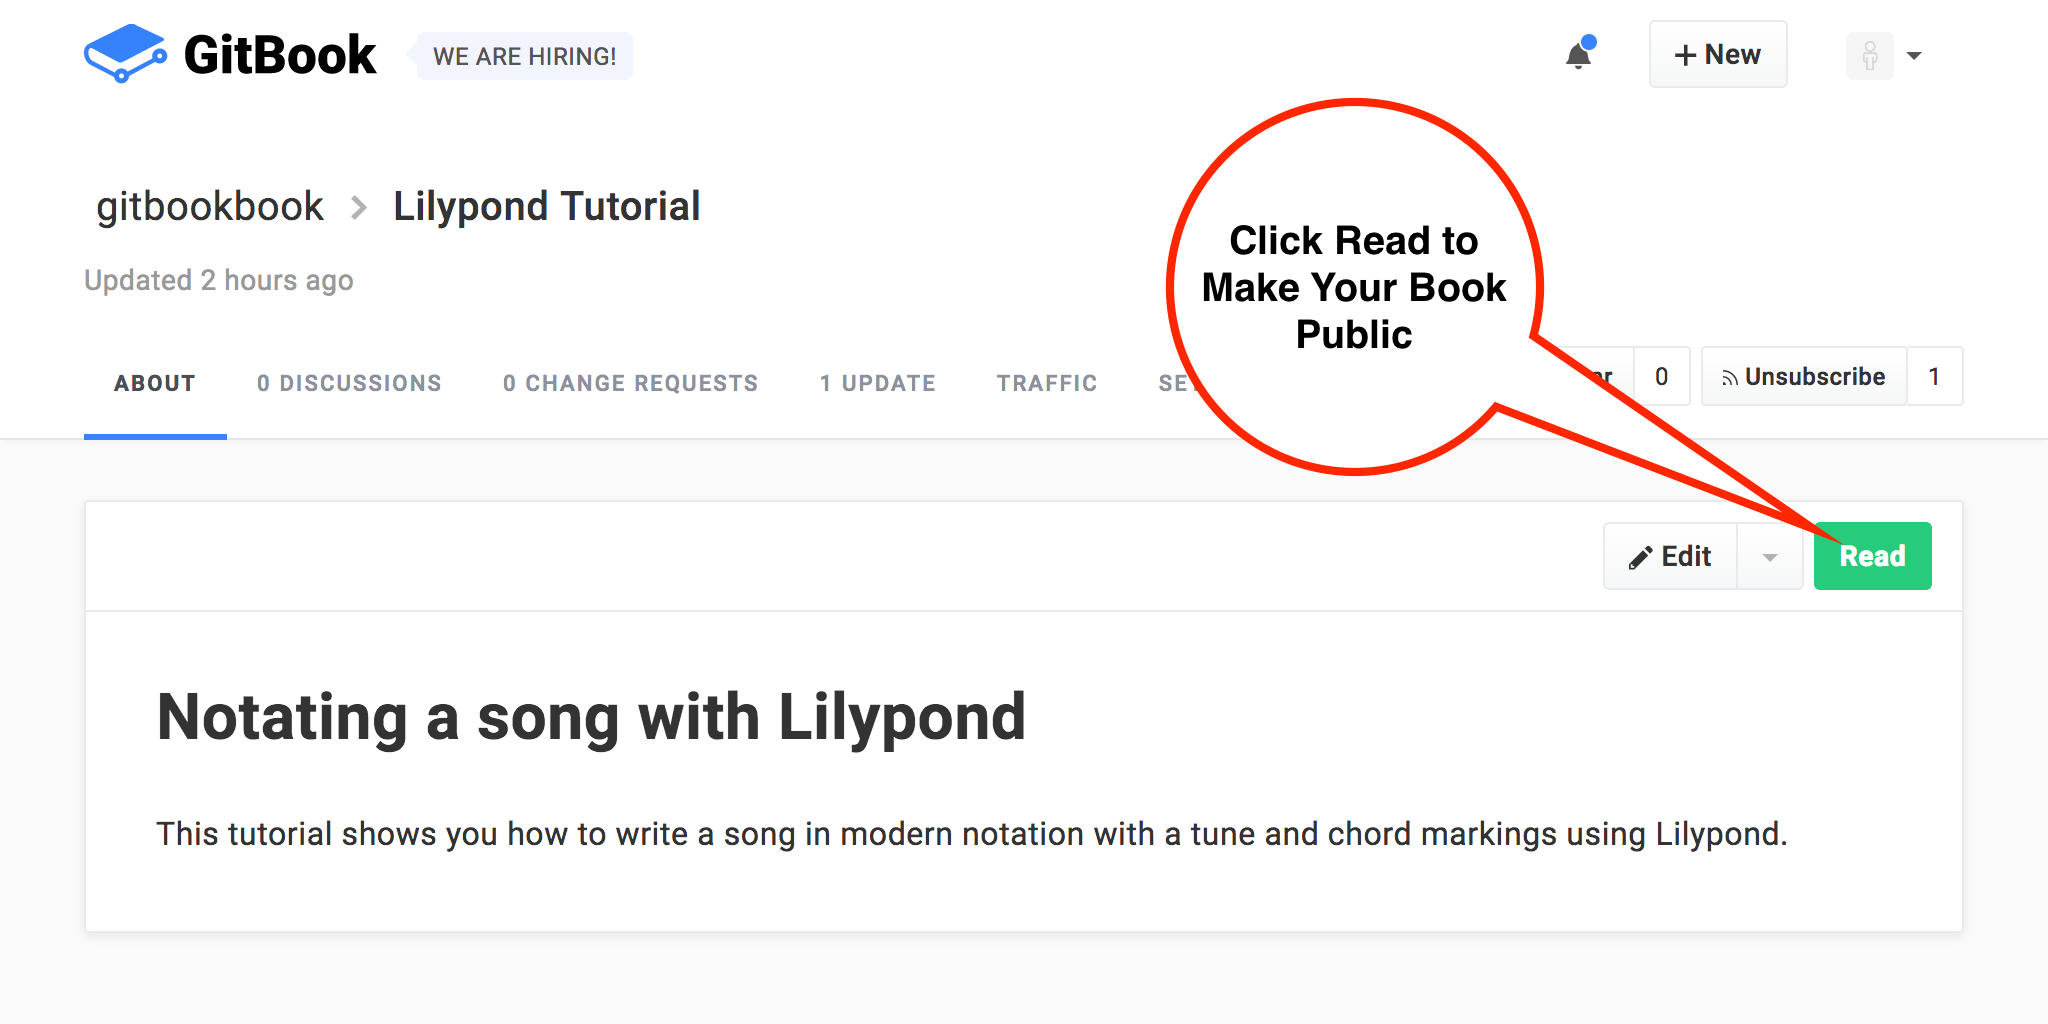
You only need to do this once. Hereafter, the book will be updated publicly each time you hit Publish.
Exploring the rich reading environment on GitBook.com
GitBook now shows your book as readers will see it, with an automatically generated table of contents and full navigation controls:
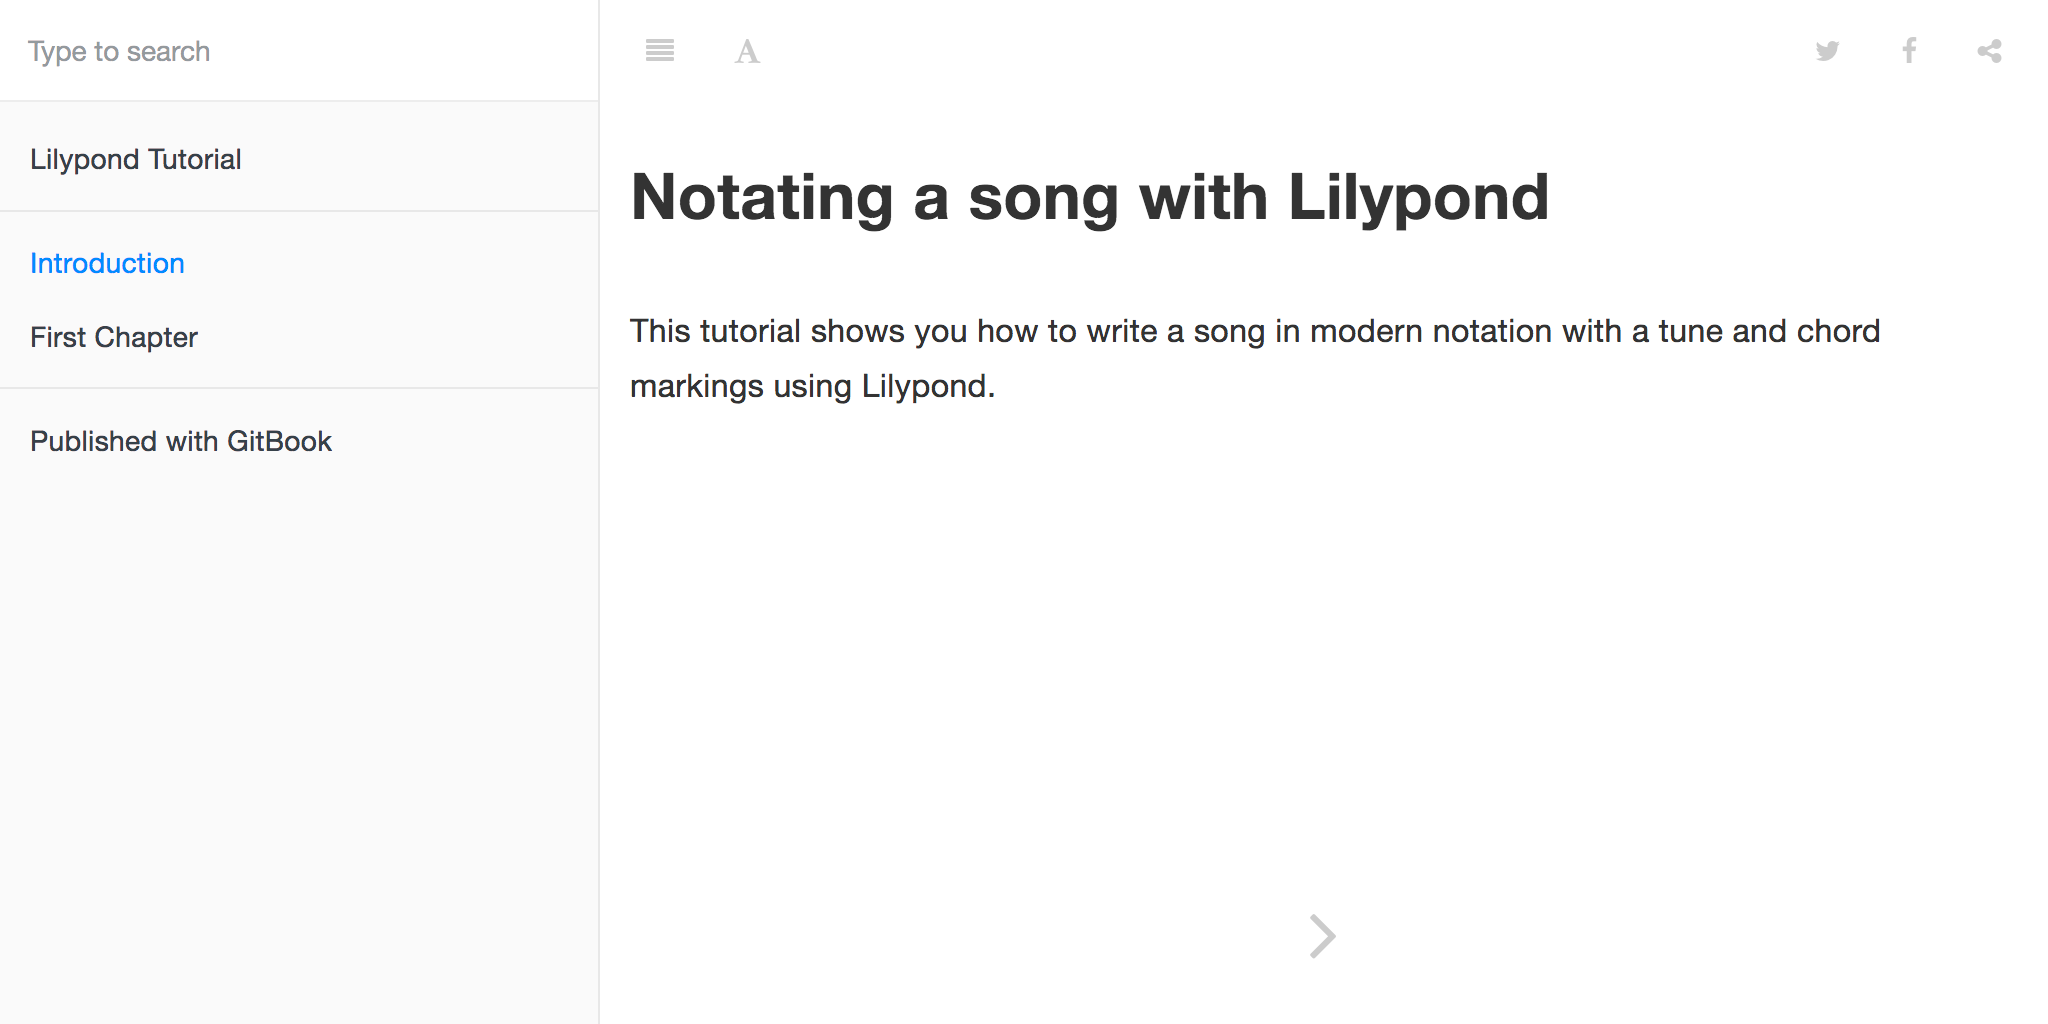
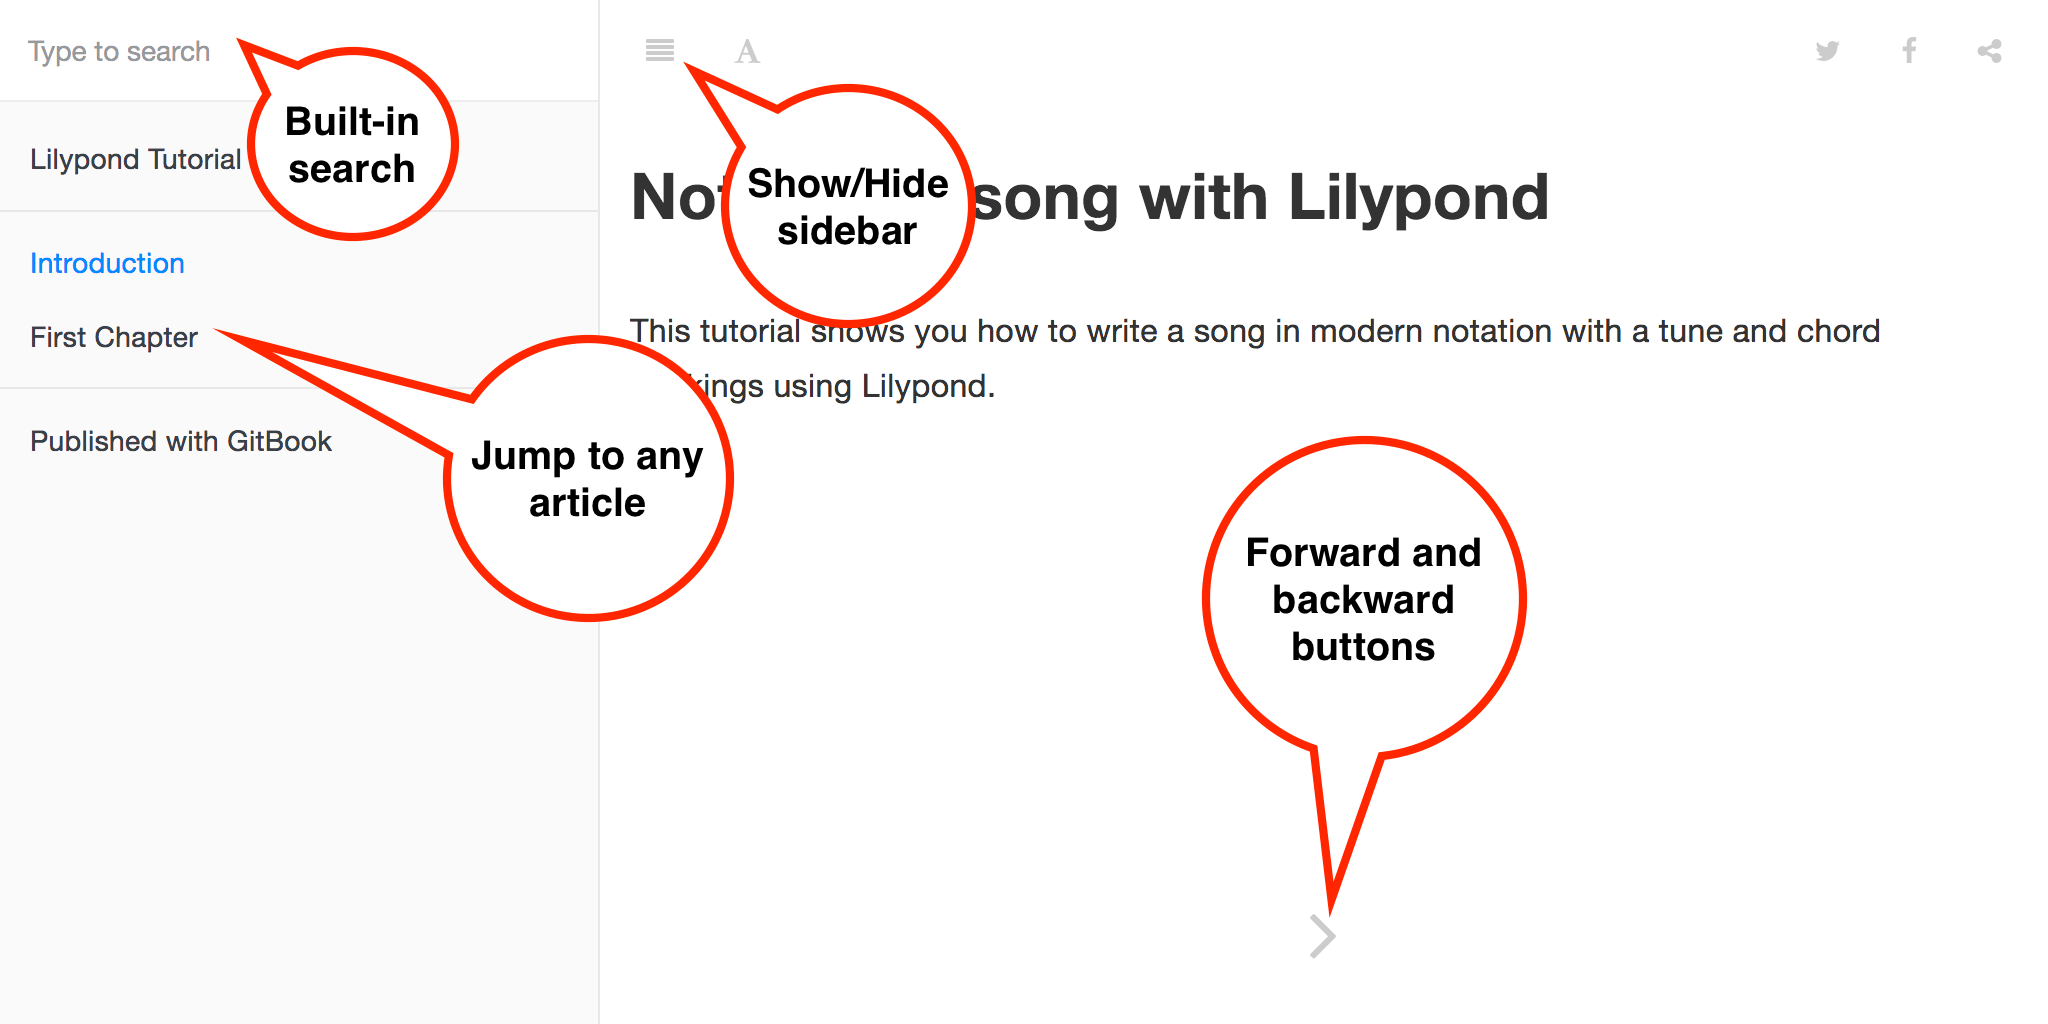
Here's some of what you get automatically when you publish your GitBook:
- Free hosting on the web so anyone can see it A full-text search box
- Arrow key support to navigate one page forward or back through the publication
- A table of contents generated automatically and displayed in a sidebar
- An icon to let you turn the sidebar off (handy on mobile phones)
- Automatically works on any size screen
- And more features, such as quick posting to social media and GitHub integration
Obtaining your book's address and browsing to it on the Web
Each of the clickable links in the sidebar is simply a link to a web page. The one at the very top is your book's "home page," the address you will most likely wish to give out.
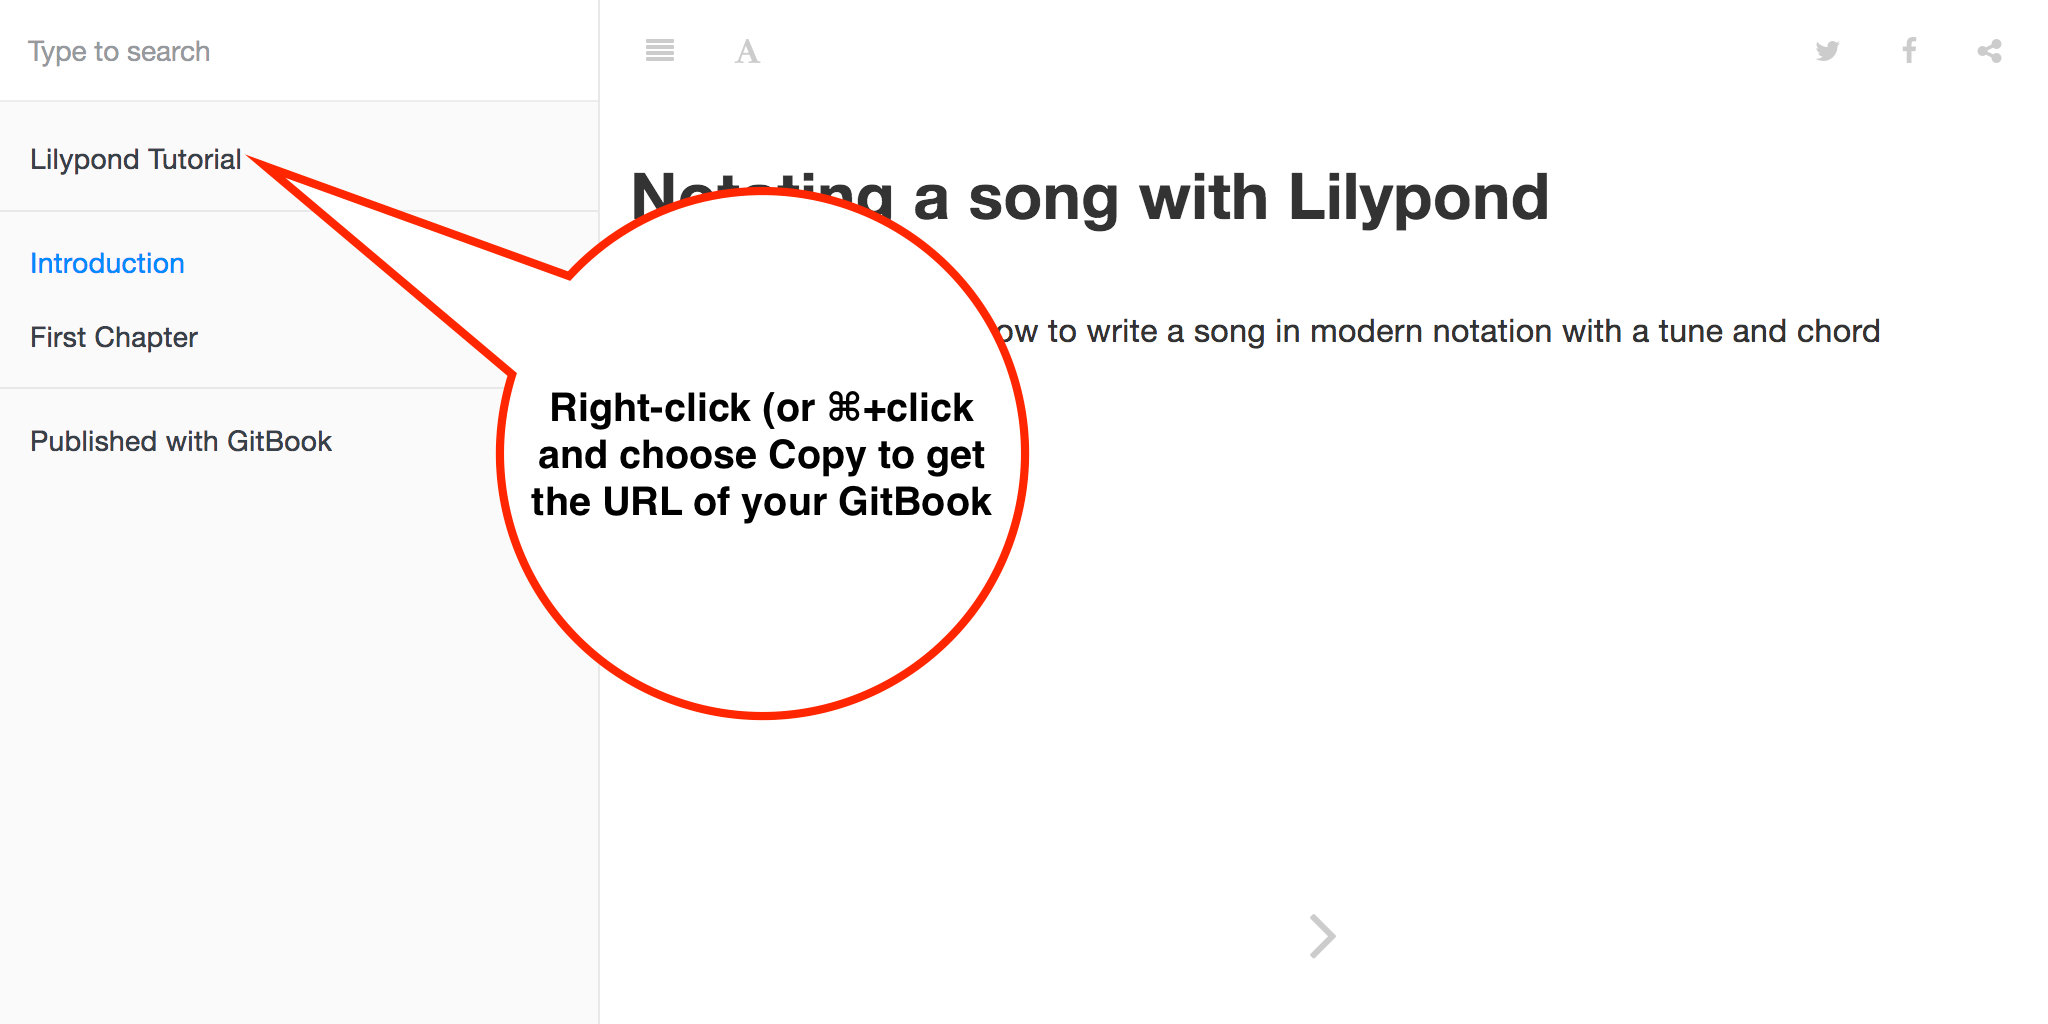
- Click that link any time you need to revisit the root page of your publication. It should look something like this, with
gitbookbook(which is the name of the user) and `lilypond-tutorial' (which is the name of the publication) replaced by the values you created:
https://www.gitbook.com/book/gitbookbook/lilypond-tutorial