Creating a sample web2py application to manage tasks
This chapter assumes you installed web2py from source and therefore have web2py itself under version control using Git.
It shows how to create a sample web2py application to manage tasks. While it uses a database, it does not employ Google Cloud SQL. That comes later.
This chapter also assumes you're a reasonably good web2py programmer, but if you're a bit rusty or only did a tutorial it does take you through the development of a working app step by step.
Start web2py
- First change to your web2py directory and start it:
$ cd /usr/local/web2py
# Sudo asks for your operating system password
$ sudo python web2py.py
You should see the startup page appear:

If web2py doesn't start and you see something like this:
OSError: [Errno 13] Permission denied: '/usr/local/web2py/deposit'
You almost certainly forget the sudo part of the command line.
- Enter a password in the
Choose Passwordfield, then chooseStart server. Make a note of that password. You'll be using it again during this session.
A browser starts and the web2py welcome app appears:

- If this doesn't happen, open a browser manually and enter this address into it:
A web2py application is nothing more than a structured directory with some required files in the /web2py/applications directory. They're created in these steps.

- Enter the password you just created, because you need admin access to create an application.
Security is foremost in web2py. If you're used to other frameworks, you may find this a little off-putting. I find it a comfort.
You'll see a list of web2py applications. On a new install it looks like this:

Launch the default welcome application
Let's take a look at the welcome application, which is a rich source of sample code.
- Click the
welcomelink and another page appears:

View the source of the welcome application
- Click the
Administrative Interfacebutton to return to the admin page, then find theManagebutton on the same row as thewelcomeapp. Click it and chooseEdit.
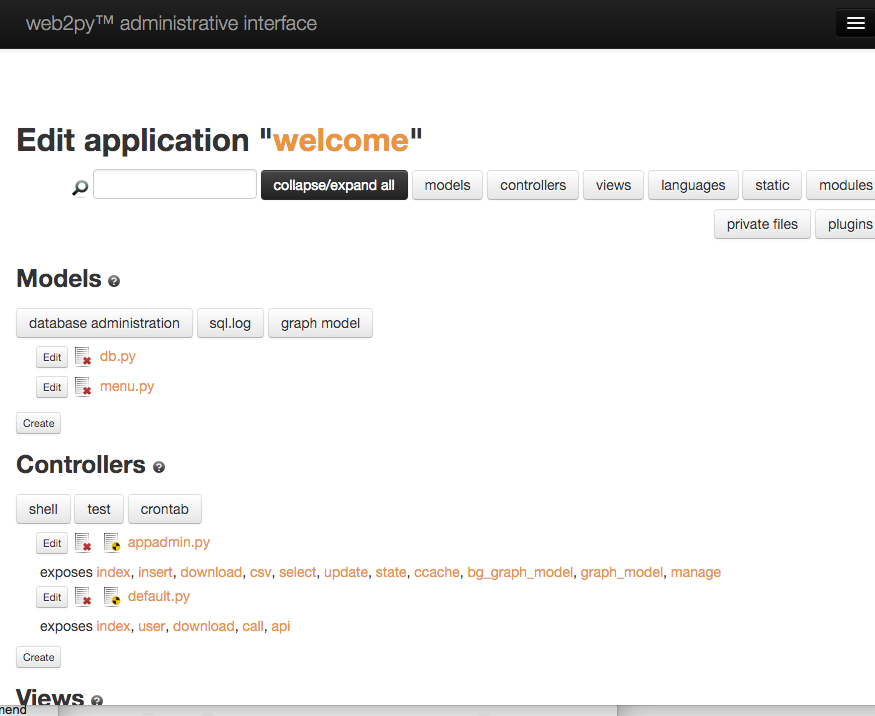
This is where you can scroll through and see source files for the welcome app.
Click a file link to view it in read only mode, or click its
Editbutton to open an editor for the file.When you're finished, click the back button or choose
Sitefrom the "hamburger" menu (three parallel lines) to return to the Installed Applications page.
Create a new application
This is also where you create a new application. Let's do it.
- Under
New simple application, entertodofor the application name and chooseCreate.
You're taken to the Edit Application page.

- Under
Models, click the Create button and create a file namedtables.py(if you're using the web2py built-in IDE it appends the.pyautomatically).

This goes automatically into the /models folder under your application, so in this example for a project named todo it would create the file /web2py/applications/todo/models/tables.py
- We're going to create a database definition in the file, so click the Edit button next to
tables.py.

- Under the provided
# -*- coding: utf-8 -*-comment write the following table definition:
db.define_table('task',
    Field('title',unique=True,notnull=True),
    Field('description','text'),
    Field('priority','integer',default=3,
        requires=IS_IN_SET([1,2,3,4,5],
        labels=[
            T('Very low'),
            T('Low'),
            T('Medium'),
            T('High'),
            T('Very High')],
            zero=None)),
    Field('completed','boolean',default=False),
    Field('user_id','reference auth_user',
        default=auth.user_id))
Create the controller methods
- Create or edit the following methods in default.py:
def team():
    return dict(
        grid=SQLFORM.grid(
        db.auth_user,
        user_signature=False))

def alltasks():
    return dict(
        grid=SQLFORM.grid(
            db.task,
            user_signature=False))

def assignments():
    return dict(
        grid=SQLFORM.smartgrid(
            db.auth_user,
            linked_tables=['task'],
            ))


def index():
    return dict(
        grid=SQLFORM.grid(
            db.task.completed == False,
            user_signature=False))
Create the views
View: index.html
- Replace the view file default/index.html with this:
{{extend 'layout.html'}}
{{if 'message' in globals():}}
<h3>{{=message}}</h3>
{{pass}}
<h1>
    Active Tasks
</h1>
<h2>
{{=A(T('Assignments'), _href=URL('assignments'))}}
{{=A(T('Team'), _href=URL('team'))}}
{{=A(T('All tasks'), _href=URL('alltasks'))}}
</h2>
{{if db(db.auth_user).isempty():}}
<h2>
Please add at least 1 {{=A(T('Team'), _href=URL('team'))}}
member before creating any tasks.
</h2>
{{else:}}
{{=grid}}
{{pass}}
View: assignments.html
- Create the view file default/assignments.html:
{{extend 'layout.html'}}
{{if 'message' in globals():}}
<h3>{{=message}}</h3>
{{pass}}
<h1>
    Assignments (tasks by team member)
</h1>
<h2>
{{=A(T('Active tasks'), _href=URL('index'))}}
{{=A(T('Team'), _href=URL('team'))}}
{{=A(T('All tasks'), _href=URL('alltasks'))}}
</h2>
{{=grid}}
View: alltasks.html
- Create the view file default/alltasks.html:
{{extend 'layout.html'}}
{{if 'message' in globals():}}
<h3>{{=message}}</h3>
{{pass}}
<h1>
    All tasks
</h1>
<h2>
{{=A(T('Active tasks'), _href=URL('index'))}}
{{=A(T('Assignments'), _href=URL('assignments'))}}
{{=A(T('Team'), _href=URL('team'))}}
</h2>
{{=grid}}
View: team.html
- Create the view file default/team.html:
{{extend 'layout.html'}}
{{if 'message' in globals():}}
<h3>{{=message}}</h3>
{{pass}}
<h1>
    Team Members
</h1>
<h2>
{{=A(T('Active tasks'), _href=URL('index'))}}
{{=A(T('Assignments'), _href=URL('assignments'))}}
{{=A(T('All tasks'), _href=URL('alltasks'))}}
</h2>
{{=grid}}
Running the sample app
When you run this app the first time you are reminded to click Team and create at least one team member, because each task must have a team member assigned.